You just finished putting the crib together, and the changing table? It’s all set and ready for changing dirty diapers. Now comes the fun part: decorating the nursery. There are a lot of different ways to put the finishing touches on your baby’s nursery, whether it’s picking a paint color or choosing the comfiest chair to rock your newborn to sleep in.
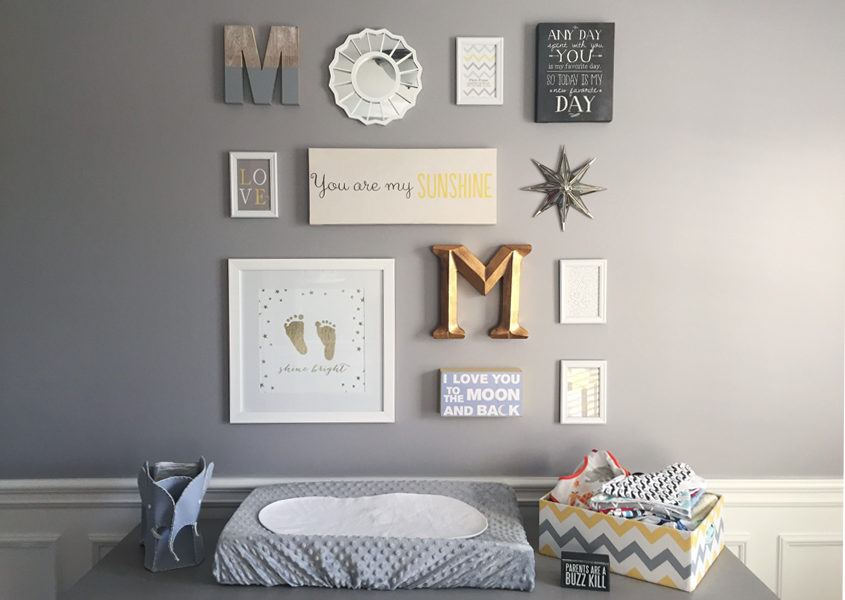
Let your creativity shine by creating a gallery wall. From framed prints to a small decorative mirror. It’s a simple idea that adds a personal touch to any nursery, but it does take a bit of preparation to gather décor and figure out the wall’s layout.
 Find Your Decorations
You can use art prints, family photos, personalized baby prints (like footprints or birth stats), or other wall décor. Even picture frames with decorative prints in place of photos would work. The great thing about gallery walls is that you can mix and match different pieces and change them down the line as your little one’s personality and interests change.
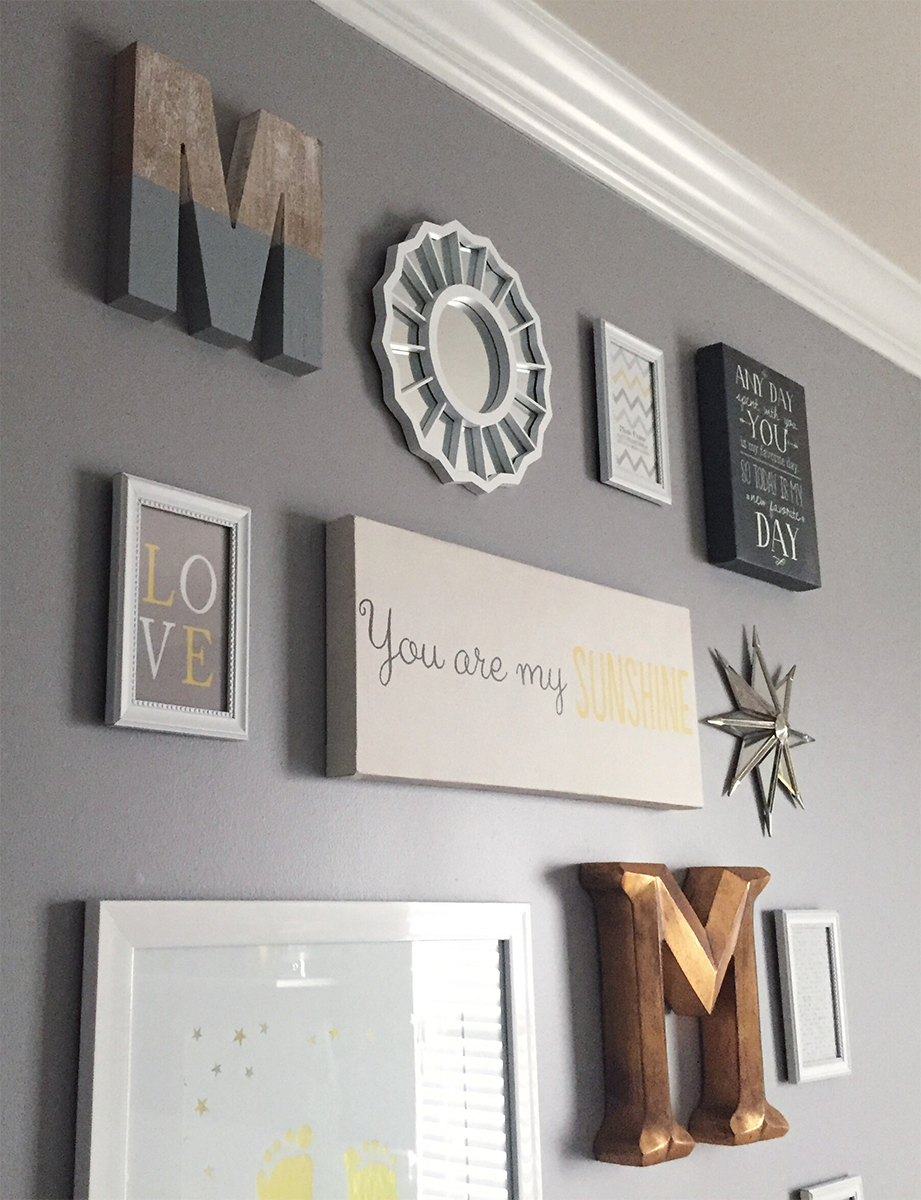
Stick with your nursery’s color scheme to make the room look complete. You don’t want the decorations on the wall to clash, so use neutral colors and include a few pieces that pop, whether it’s through color, texture or shape. Consider pieces that project off the wall at different heights for a dramatic effect.
Don’t be afraid to play around with different shapes to break up the monotony of rectangular and square frames.
Arrange Before Hanging
Measure the wall space where you’re planning on hanging the decorations, tape off the area on the ground and arrange the pieces there before putting any holes in your wall. Unless you want to wing it, this method ensures that you can play around with different layouts and see what works or doesn’t work.
You can arrange the pieces in a rectangle, or you can place the frames and other decorations in whichever layout you like best.
Helpful Tips
- Hang the gallery wall at eye level for best viewing.
- Gather all necessary tools for hanging (hammer, nails/anchors/hooks, level).
- Use a laser level to project accurate lines on your wall. The last thing you want on a gallery wall is crooked art.
- Safety first! Use Velcro (along with nails) to make sure the frames are secure and have no chance of falling off (especially if your gallery wall is hanging over the changing table).
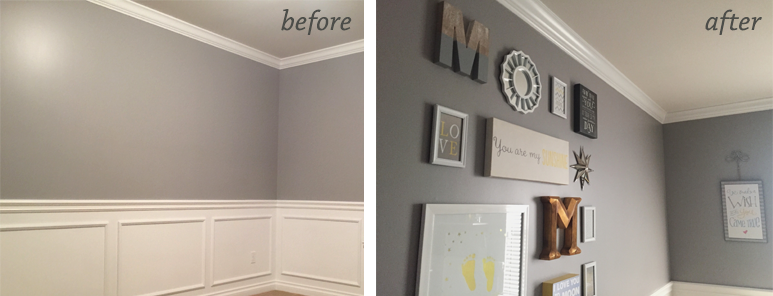
DIYing a nursery gallery wall isn’t a difficult task—it’s just one that takes a little bit of effort and planning to make it look personal and sophisticated. It lets you be even more creative in the decorating process, and the best part? You can change out different pieces as your child grows to match their interests. A gallery wall should be the focal point of your baby’s nursery, and overall, this should be a fun project if you love to decorate!