With Source 1 Drainage driveway channel drain, grate removal is a snap. Removable grates allow for easy access for debris clean out and maintenance. It’s a simple three step process to remove the grate so you can clean it out and improve your home’s drainage.
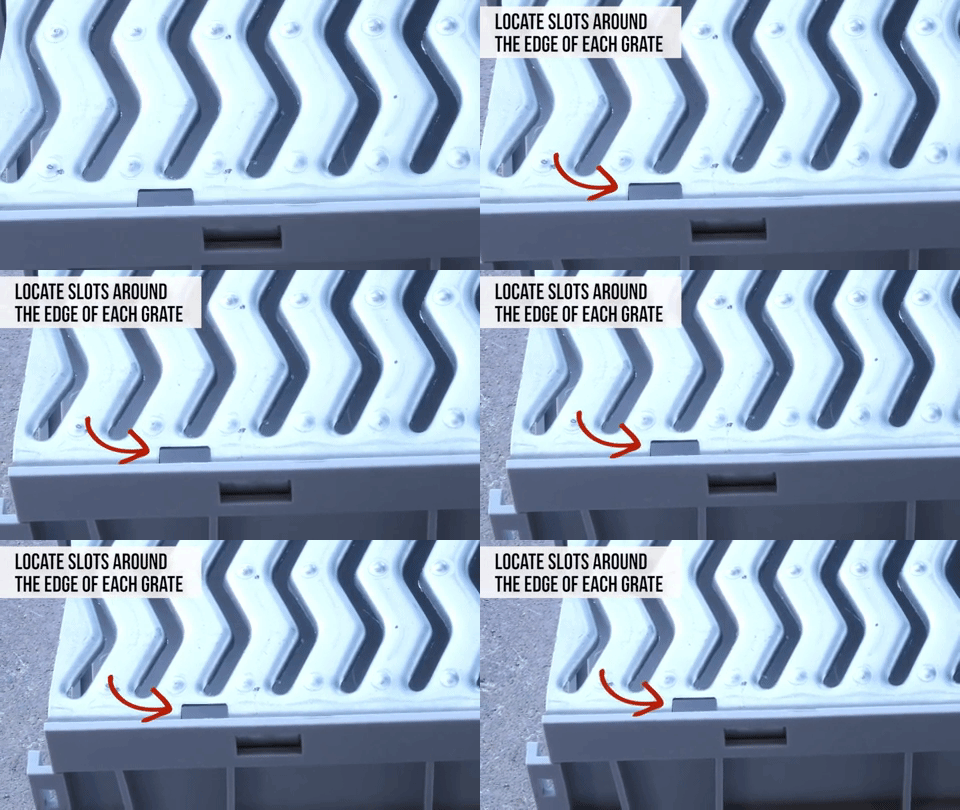
Step 1: Locate the slots around the edge of the grate.
Each stick of channel has six slots around the perimeter. Small grate lock holes along the side keep the grate snapped in place; you’ll hear a loud click once the clips are secure.

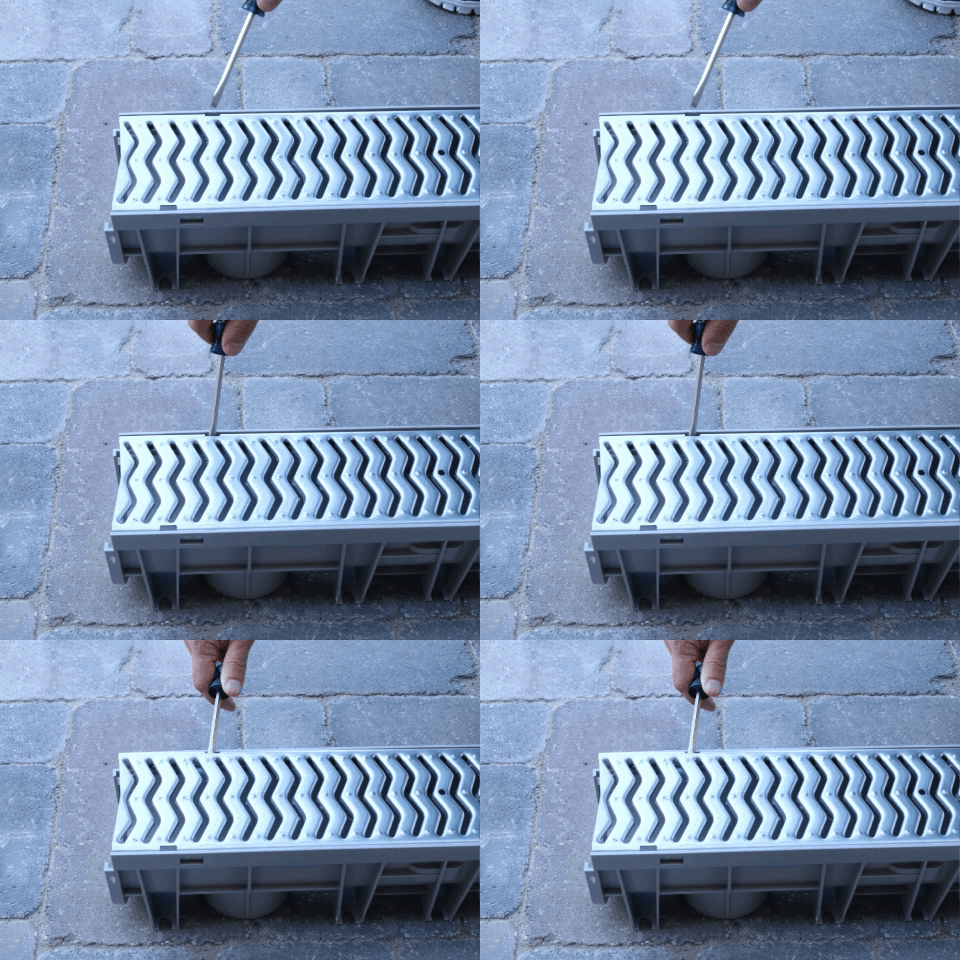
Step 2: Insert flat tool into the slot.
Find any tool that’ll fit the slot. We recommend a flathead screwdriver but you can also use a small chisel—whatever you have on hand.

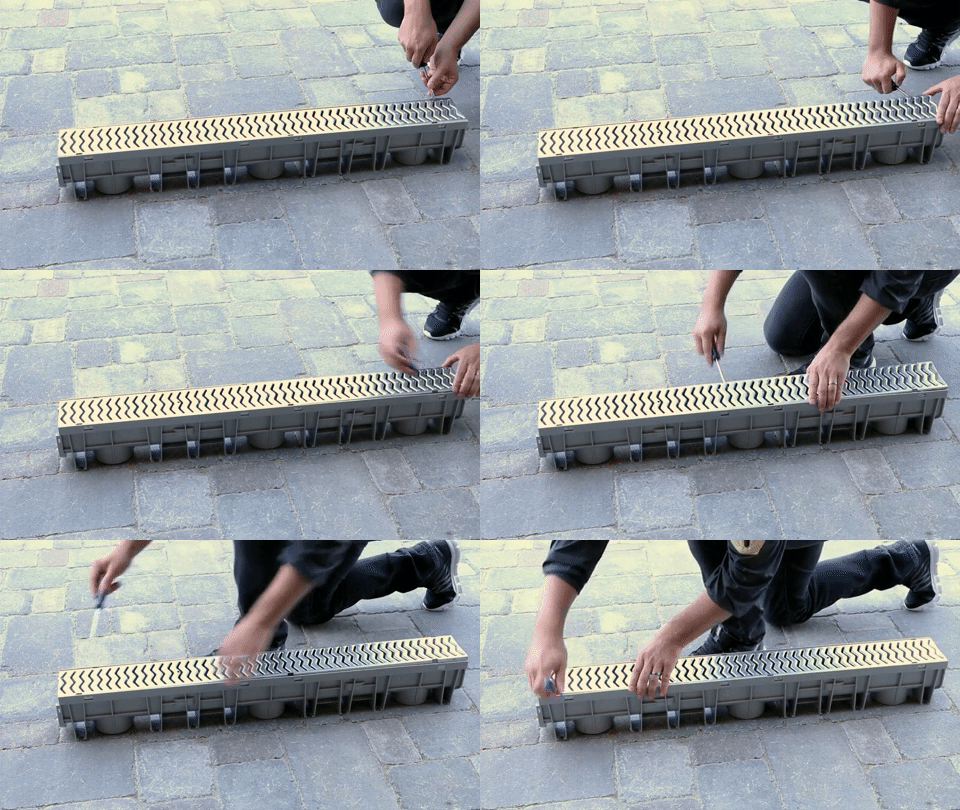
Step 3: Work each slot with the screwdriver until the grate pops away from the clips.
Work your way down the stick of channel until the grate pops away from each of the clips. Depending on what the grate is made of (galvanized steel or plastic), you might need to work the screwdriver a little to loosen the clip.

Next time you notice your channel drain isn’t draining like it should, pop off the removable grate. You never know how much debris can make its way in!


